13 KiB
Firmware Update Process for TNC3 on Microsoft Windows 10
This document outlines the firmware update process for the Mobilinkd TNC3 for Microsoft Window, focusing on Windows 10. The update process should be similar enough for all Windows versions back to Windows 7.
Please note that the firmware update software is cross-platform, so the actual firmware update process is the same for Windows, Linux and MacOS.
The first part of this document outlines the download and installation process of the firmware programming software and the required device drivers.
The second part of this document outlines the firmware upgraded process using the STM32CubeProgrammer software.
The third part of this document outlines troubleshooting steps.
If you have already downloaded and installed the STM32CubeProgrammer software, feel free to skip to the Firmware Update Section.
Installing the Firmware Programmer and Device Drivers
The Mobilinkd TNC3 uses the STM32CubeProgrammer software from STMicroelectronics to perform firmware updates. This is a comprehensive and cross-platform firmware update tool.
You will be performing the following steps:
- Downloading the software
- Unzipping the software
- Running the installer
- Installing Java (if not already installed)
- Installing the firmware update software
- Installing the device drivers
Download the Software
The firmware update tool is available from here: https://www.st.com/en/development-tools/stm32cubeprog.html
Download the File
Open the File
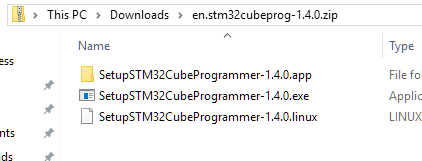
Extract the Files
Double-click the executable file. Windows will ask you to extract all files.
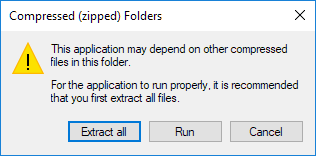
Select "Extract all".

Make sure that "Show extracted files when complete" is selected. Once complete, you will be presented with a new file browser showing the extracted files.
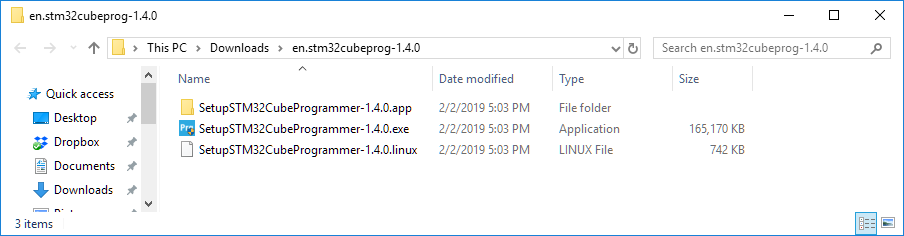
Install Java
Double-click the SetupSTM32CubeProgrammer-1.4.0.exe to run the installer.
You may be presented with a warning screen.
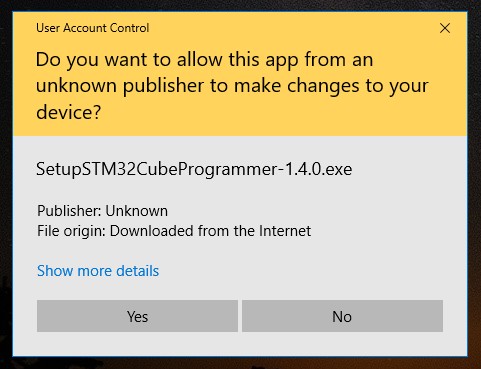
Select "Yes" to continue.
At this point you may be presented with a message saying that Jave is required. This section will guide you through the installation process. If this does not appear for you, please skip to the next section.
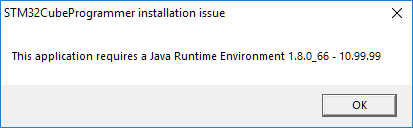
Select "OK" to continue. You will be presented with a browser window to download the Java Runtime Environment.
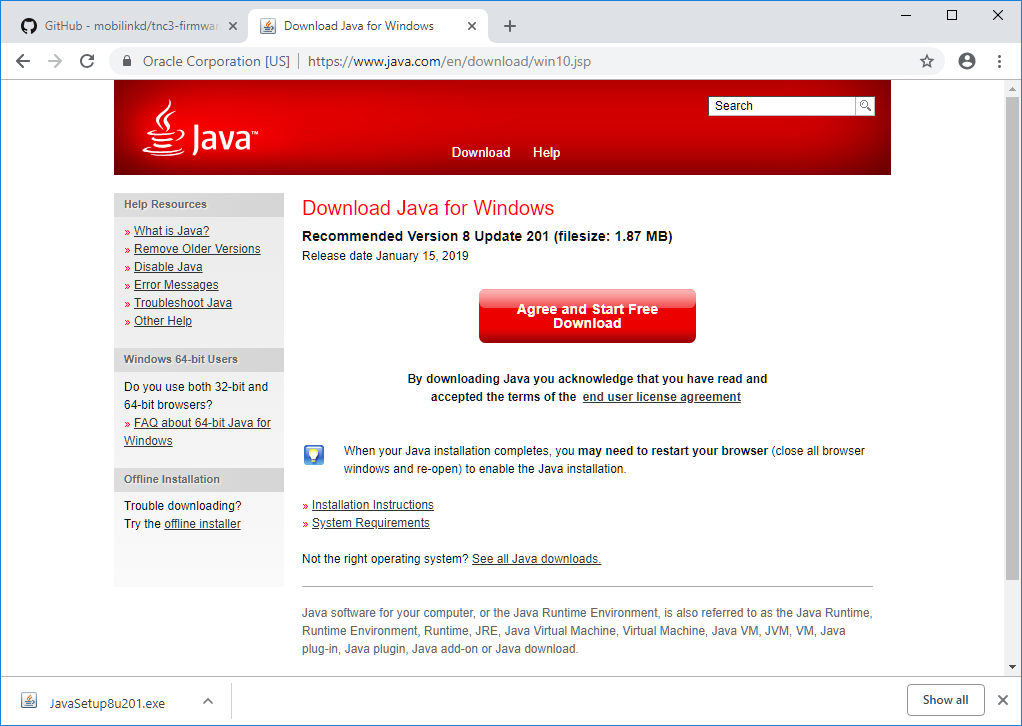
Windows may ask you to approve this software installation.
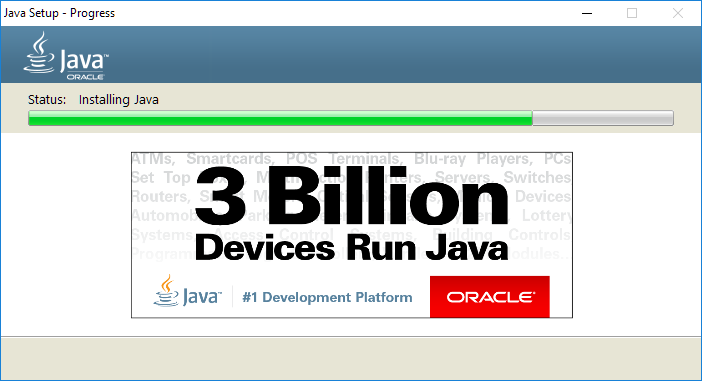
Select "Yes" to continue. You will see the Java installation window appear.
Once complete, you will need to go back to the File Browser showing the STM32CubeProgrammer extracted files.
Double-click the SetupSTM32CubeProgrammer-1.4.0.exe to run the installer.
You may be presented with a warning screen.
Select "Yes" to continue.
Install STM32CubeProgrammer
Follow the installation screens, choosing the defaults.
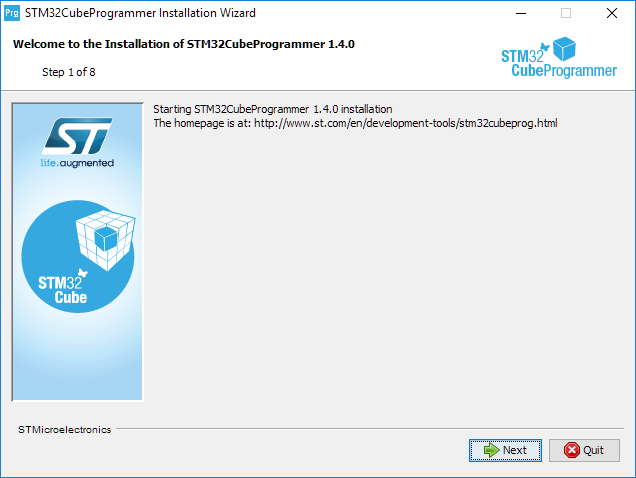
Select "Next".
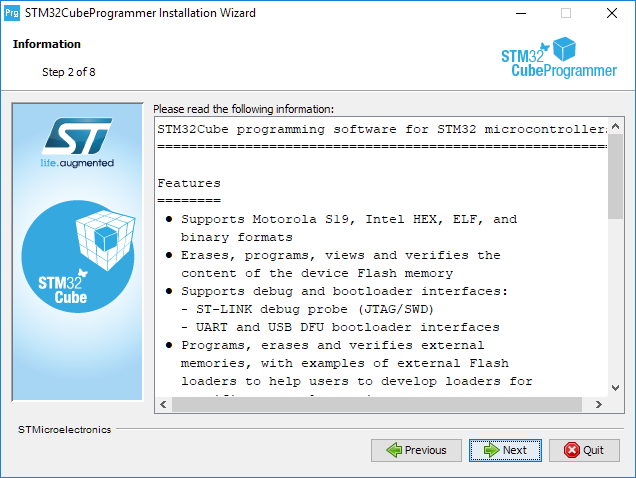
Skip the information... select "Next".
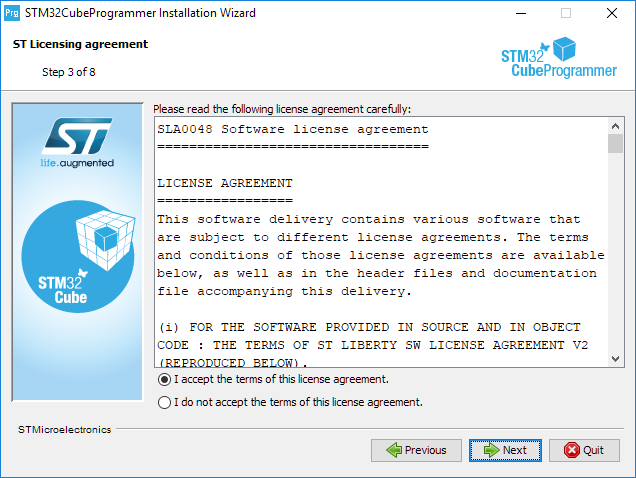
Accept the terms of the software license agreement and press "Next".
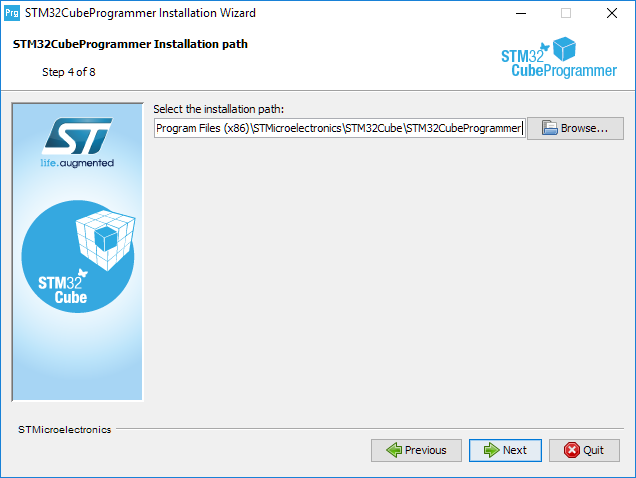
Unless you have a very good reason to change the location of the installed software, use the default path and select "Next.
You may be presented with a dialog informing you the location will be created. Select "OK".

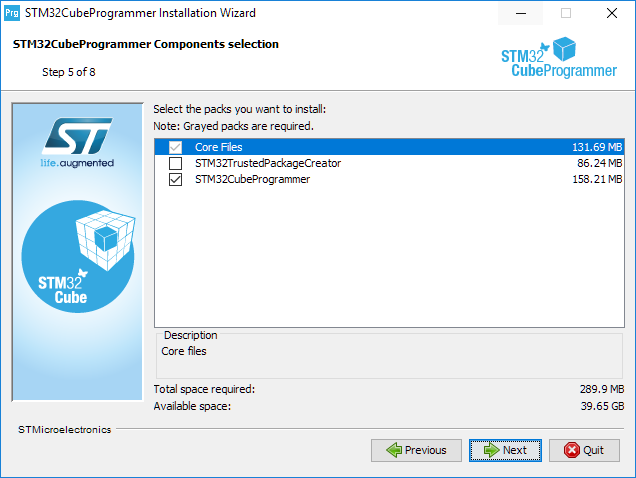
The next screen asks which components should be installed. You should just select the default components as these are all that is required for the firmware update process on the Mobilinkd TNC3.
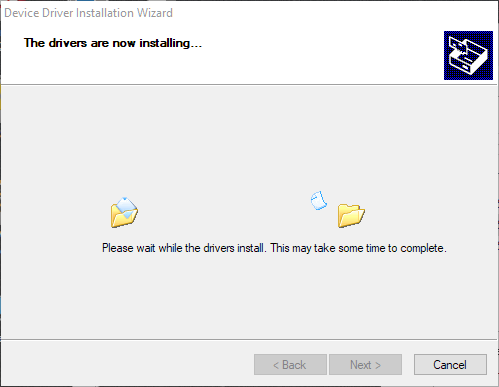
The installation process will begin...
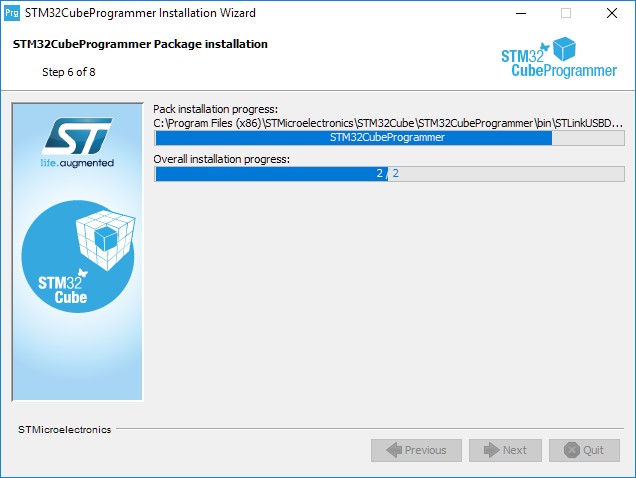
After the software is installed, the installer will install the required device drivers.
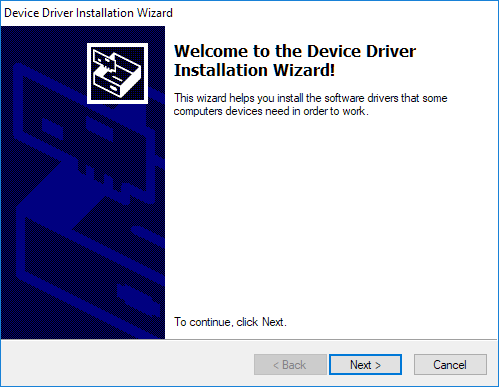
Select "Next" to proceed with the installation. You may be asked to confirm the installation of the drivers.
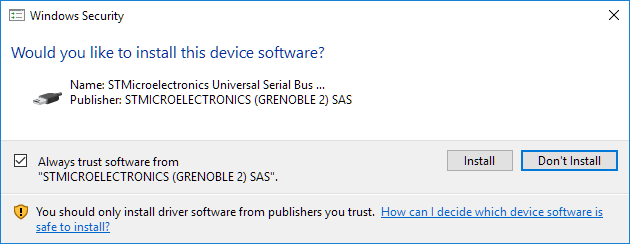
Select "Install" to proceed.
When finished, you will see the following.
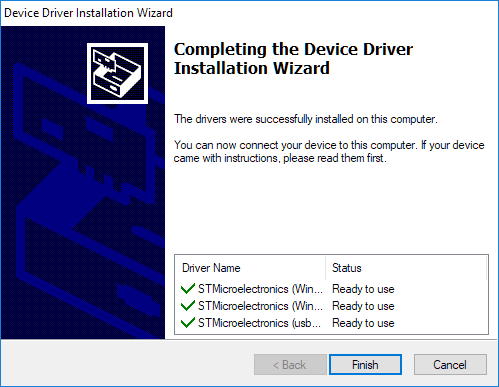
Select "Finish" to proceed.
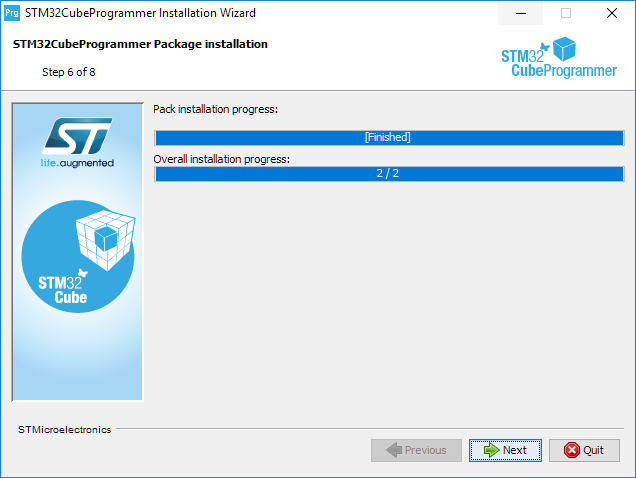
When complete, select "Finish" to proceed. The installer will finalize the installation. Accept the defaults for the next two screens.
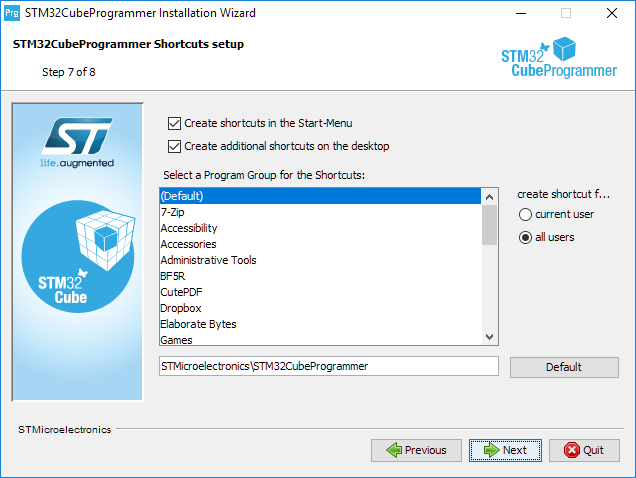
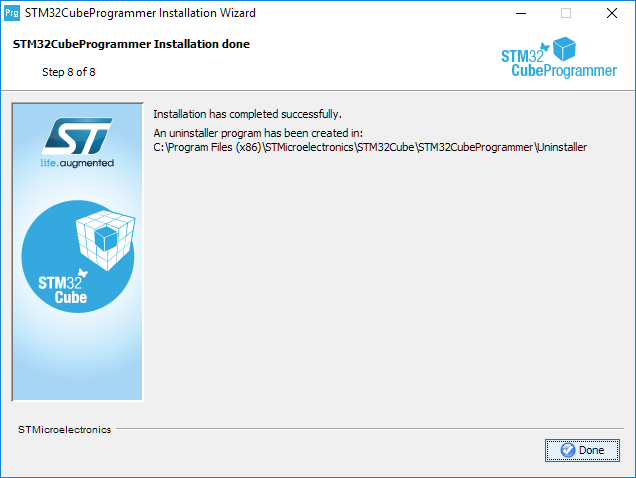
The firmware update software is installed and an icon exists on the desktop.
Firmware Update Process
This section will walk you through the firmware update process. The STM32CubeProgrammer is fairly complex, and it is easy to unintentionally damage the TNC if the instructions are not carefully followed.
Download the Firmware File
To start, download the latest firmware for the TNC3 from the Mobilinkd Downloads page. The file will have a ".elf" extension.
Prepare the TNC
The Mobilinkd TNC3 includes a USB-based DFU (device firmware update) bootloader.
Before we begin, it is helpful to review the TNC3 physical features.
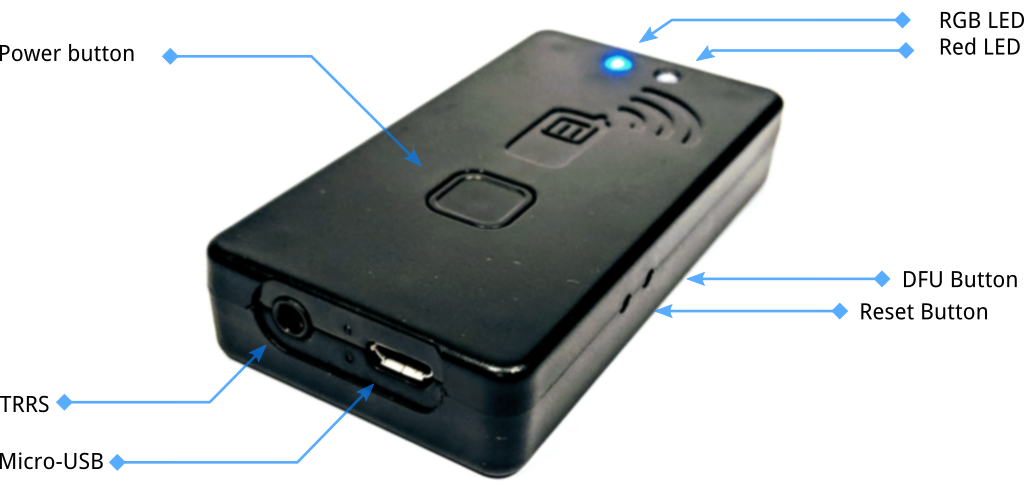
The DFU button is used to put the TNC into firmware update mode.
To update the firmware you will need a USB cable with a micro-USB connector. You will also need a ball-point pen or something that can be inserted into the hole in the case where the DFU button is.
To enter the bootloader, follow these steps:
- If you have connected any app to the TNC (APRSdroid, aprs.fi, etc) ensure that those apps are disconnected from the TNC. This is very important as having one of these apps attempt to connect to the TNC may interfere with the ability to enter the bootloader.
- Start with the TNC powered off and disconnected from radio and USB.
- Turn on the TNC.
- Plug USB cable into the computer.
- Plug the USB cable into the TNC. The computer should add a new COM port.
- Turn the TNC off for a few seconds, then turn it back on.
- After the blue LED flashes at least once, use the tip of a ball-point pen to gently press the DFU button. You should see the red LED briefly flash, and the blue LED will stop blinking.
The TNC is now ready to accept a firmware update. If you wish to abandon this process, use the same pen to gently depress the reset button.
Update the Firmware
In this section we are going to:
- Start the STM32CubeProgrammer
- Connect to the TNC's bootloader
- Load the firmware file
- Write the firmware to the TNC
Start the STM32CubeProgrammer
When the STM32CubeProgrammer was installed, it should have put an application shortcut on your desktop.
![]()
Find the shortcut and click it. The firmware update software will start.
Connect to TNC
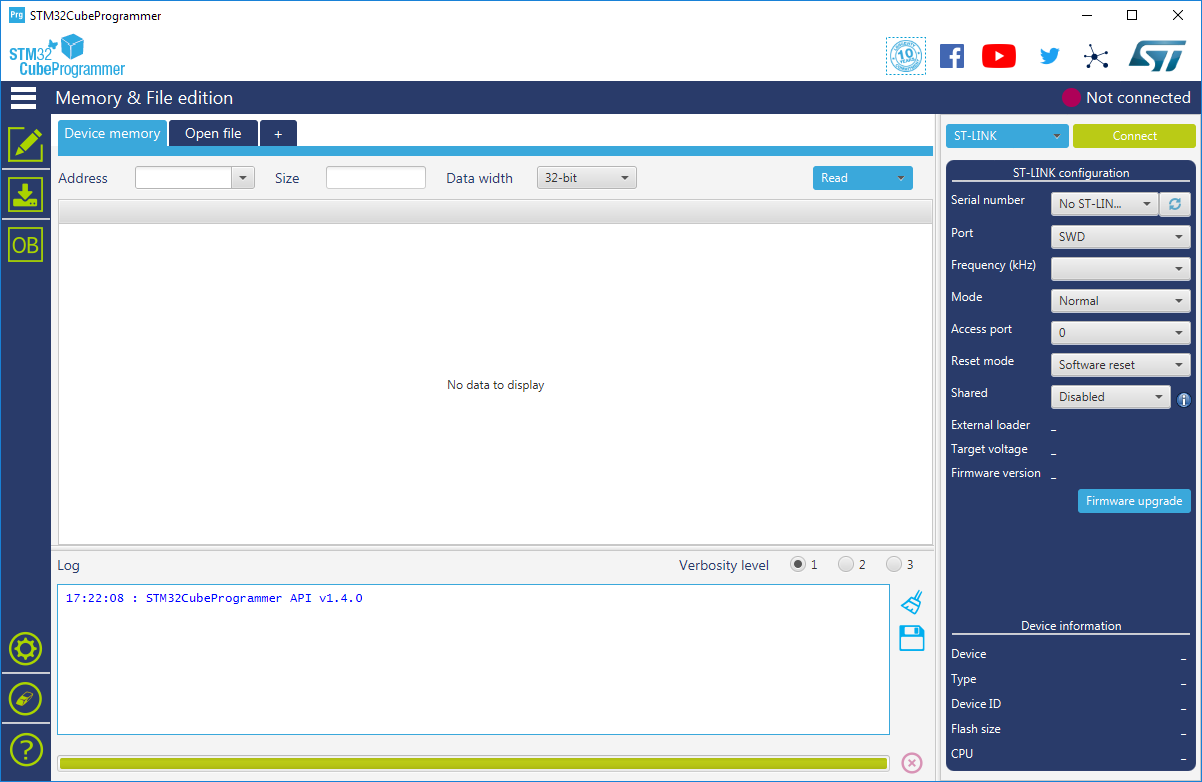
In the upper right, there is a blue and a yellow button. Press the blue button to access the drop-down menu and select "USB".
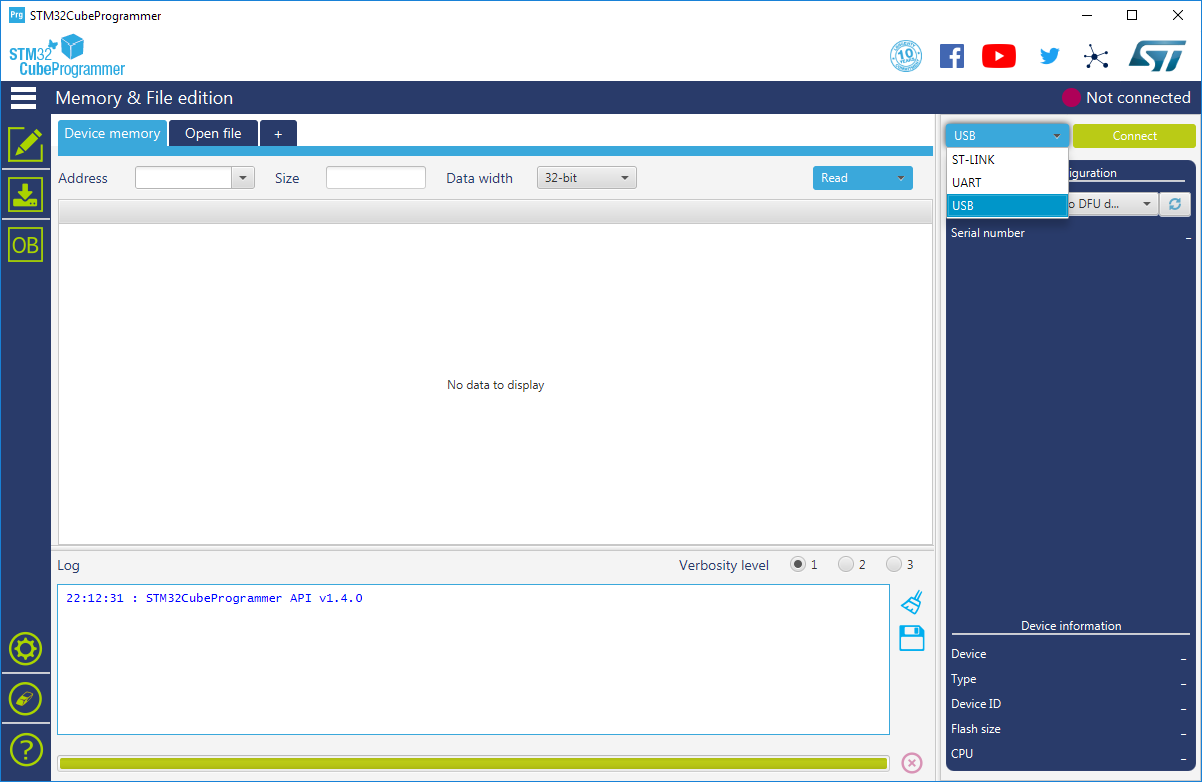
You should see a device named "USB1" available. If you do not see it, press the refresh button next to the port selection dropdown.
If you still do not see a device labeled USB1, press the reset button and repeat the steps to enter the bootloader. If you still do not see the device listed, go the the Troubleshooting section.
Press the yellow "Connect" button to connect to the TNC. The device's firmware will be downloaded from the TNC.
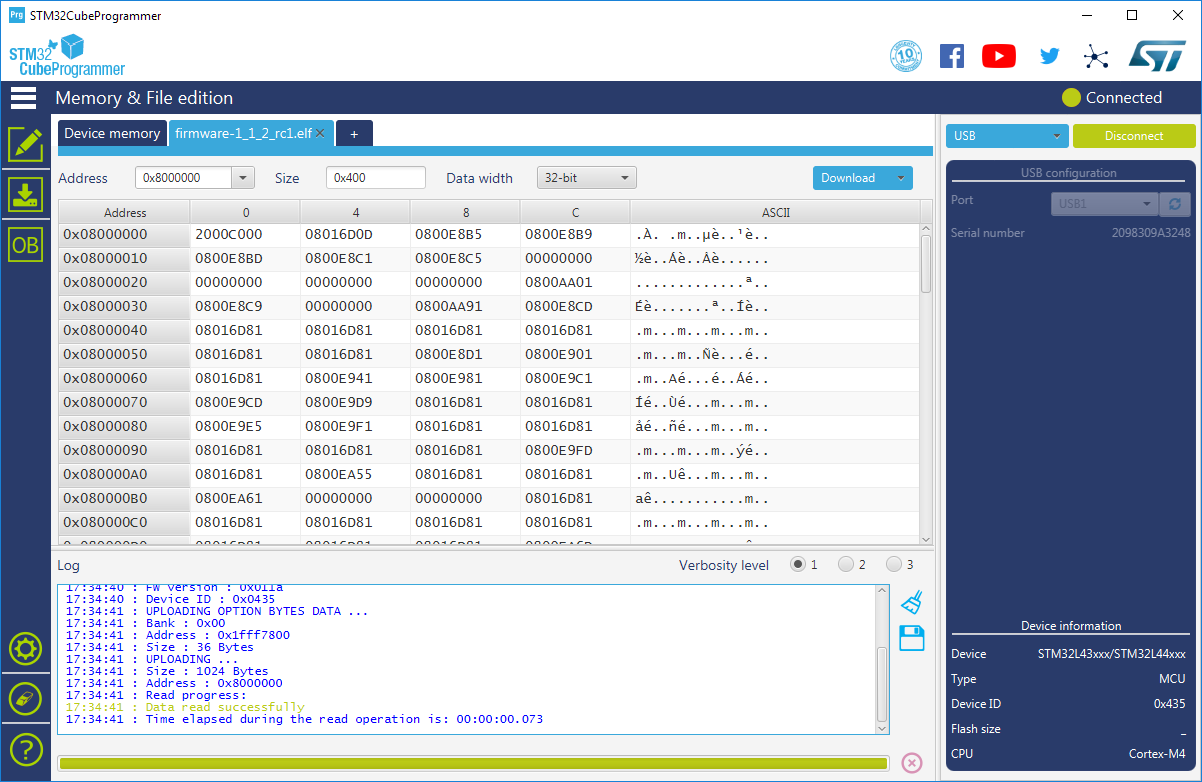
Load the Firmware File
Click on the "Erasing and Programming" icon on the left side of the programmer.

This will bring up the firmware update screen.

Click on the "Browse" button.
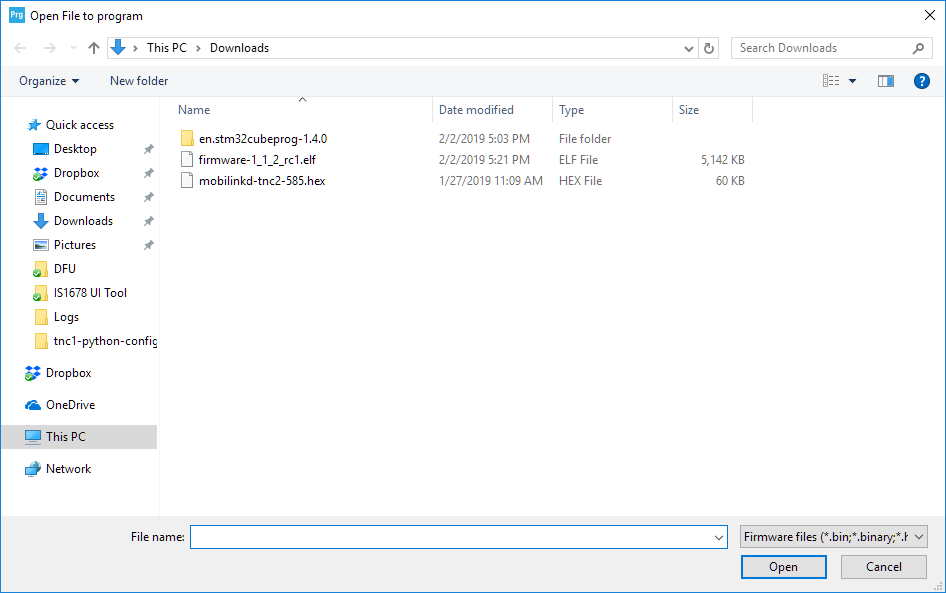
Select the firmware file that was downloaded at the beginning of this process.
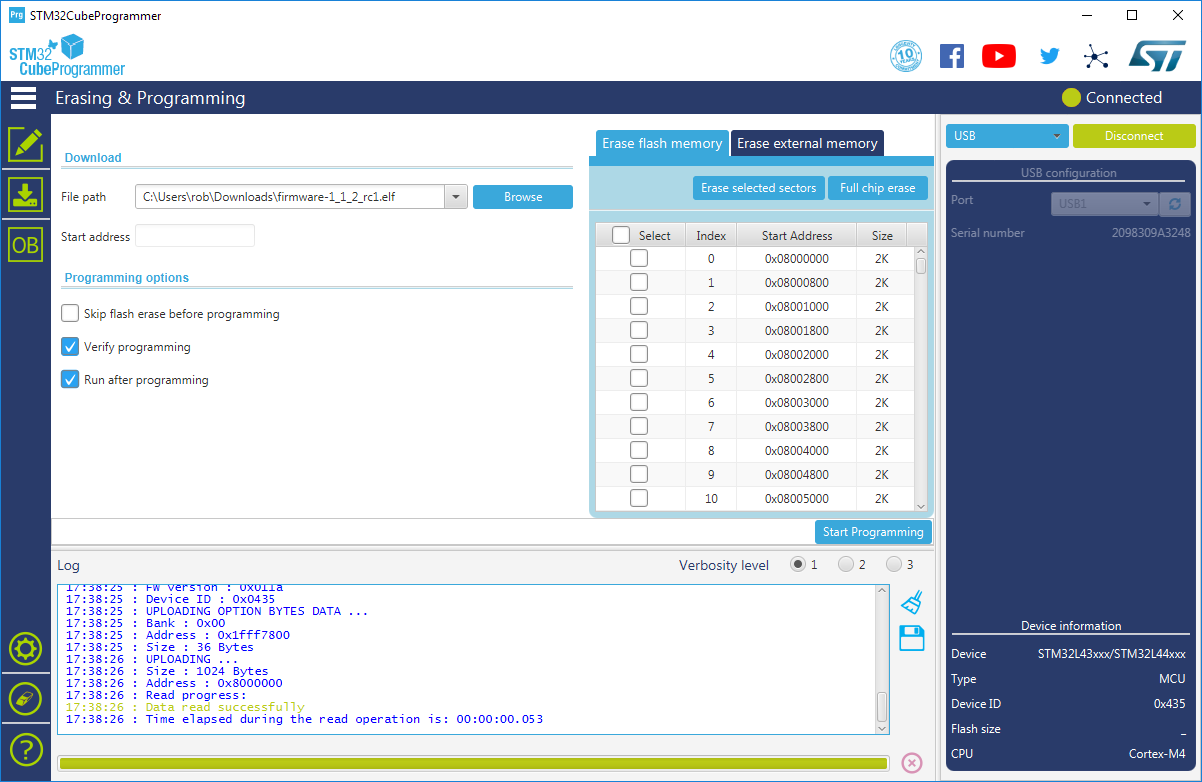
Ensure that the options "Verify programming" and "Run after programming" are both enabled.
Press the "Start Programming" button.
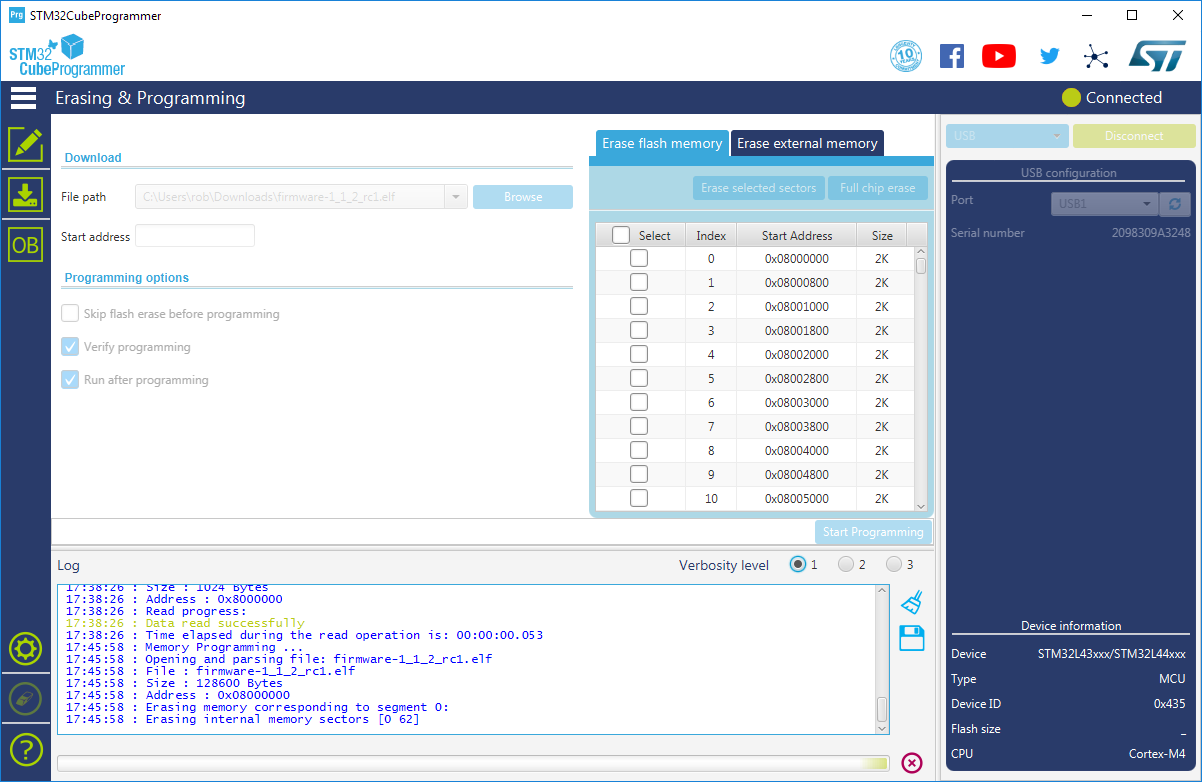
When it is complete, the TNC will restart and disconnect from the STM32CubeProgrammer application.
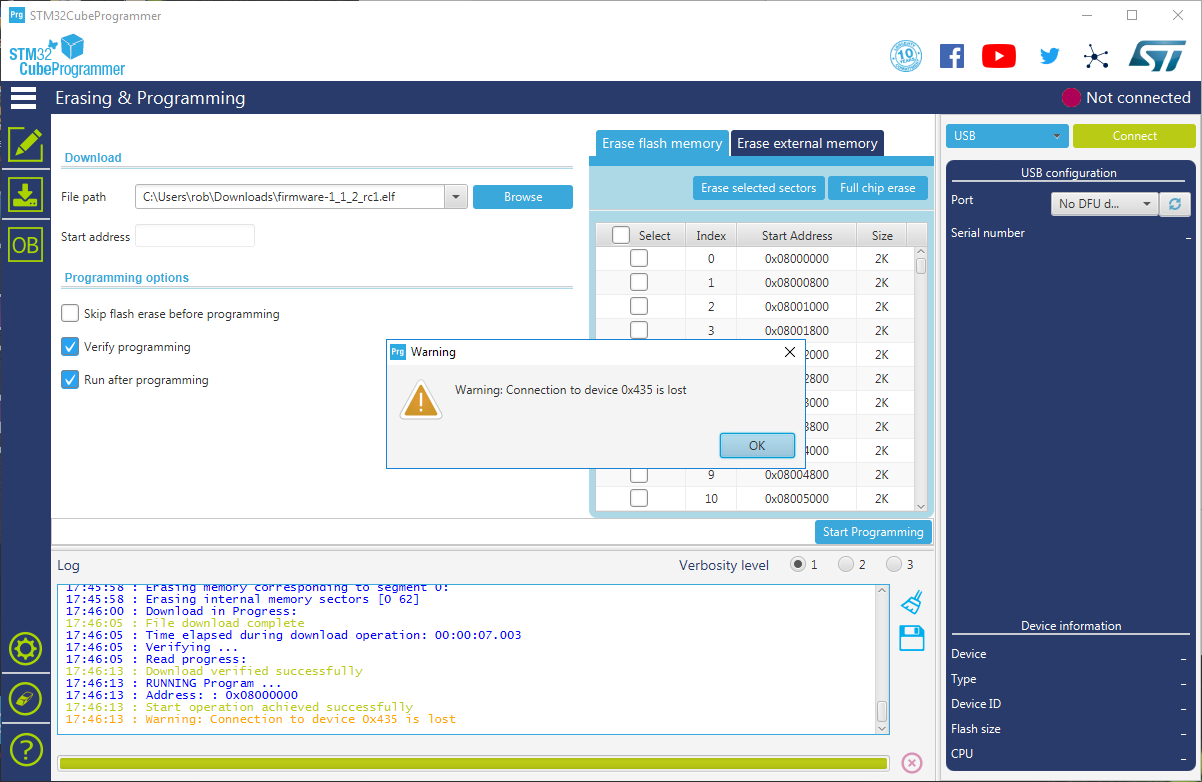
This warning message is normal.
You can now close the STM32CubeProgrammer and launch the config app on either Android or iOS and verify that the firmware version is correct.
Troubleshooting
This section is very brief for now.
TNC is not available in programmer
There are a number of possible causes for the TNC not showing up in the programmer.
Is Bootloader Active
The first thing to check is that the bootloader is active. If the blue LED flashes or breathes, the bootloader is not active. See Cannot Enter Bootloader/DFU below.
Check Your USB Cable
The TNC has a USB serial port. You should see a notification when the TNC is first attached via USB, before entering the bootloader, that a COM port is being added. If you do not see this occur, verify that your USB cable is OK. Try a different cable. There are a number of "charge-only" cables being sold these days. These will not work. You will need a USB data cable.
Old STM DFU Driver Installed
Open the device manager.
Check whether “STM Device in DFU Mode” appears under the “Universal Serial Bus Controllers”
If this device appears, right click the device, and select "Uninstall device".
Open a file browser and go to:
C:\Program Files (x86)\STMicroelectronics\STM32Cube\STM32CubeProgrammer\Drivers\DFU_Driver
Run the "STM32Bootloader.bat" file in there to re-install the DFU device drivers.
Refresh the device list in the STM32CubeProgrammer window.
Cannot Enter Bootloader/DFU
Verify that the TNC's blue LED indicates that the TNC is disconnected by being in the "slow breathing" state.
If the TNC is connected to any device (blue LED indicating a double blip or triple blip), the TNC will not enter DFU mode. Find the app that is connected and disconnect it.